Color Enhancement
Evaluate Expression
New in version 0.4.1.
Pixel channels can be manipulated by applying an arithmetic, relational, or
logical expression. See EVALUATE_OPS for a list of valid
operations.
For example, when given image enhancement.jpg:

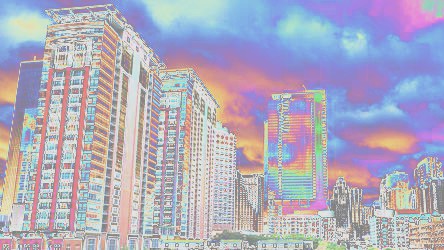
We can reduce the amount of data in the blue channel by applying the right-shift binary operator, and increase data in the right channel with left-shift operator:
from wand.image import Image

with Image(filename='enhancement.jpg') as img:
    # B >> 1
    img.evaluate(operator='rightshift', value=1, channel='blue')
    # R << 1
    img.evaluate(operator='leftshift', value=1, channel='red')

Function Expression
New in version 0.4.1.
Similar to evaluate(),
function() applies a multi-argument function to
pixel channels. See FUNCTION_TYPES for a list of available
function formulas.
For example, when given image enhancement.jpg:

We can apply a Sinusoid function with the following:
from wand.image import Image

with Image(filename='enhancement.jpg') as img:
    frequency = 3
    phase_shift = -90
    amplitude = 0.2
    bias = 0.7
    img.function('sinusoid', [frequency, phase_shift, amplitude, bias])

FX Expressions
New in version 0.4.1.
FX special effects are a powerful “micro” language to work with.
Simple functions & operators offer a unique way to access & manipulate image
data. The fx() method applies a FX expression, and
generates a new Image instance.
For example, when given image enhancement.jpg:

We can create a custom DIY filter that will turn the image black & white, except colors with a hue between 195° & 252°:
from wand.image import Image

fx_filter='(hue > 0.55 && hue < 0.7) ? u : lightness'

with Image(filename='enhancement.jpg') as img:
     with img.fx(fx_filter) as filtered_img:
          filtered_img.save(filename='enhancement-fx.jpg')

Gamma
New in version 0.4.1.
Gamma correction allows you to adjust the luminance of an image. Resulting
pixels are defined as pixel^(1/gamma). The value of gamma is
typically between 0.8 & 2.3 range, and value of 1.0 will not affect the
resulting image.
The level() method can also adjust gamma value.
For example, when given image enhancement.jpg:

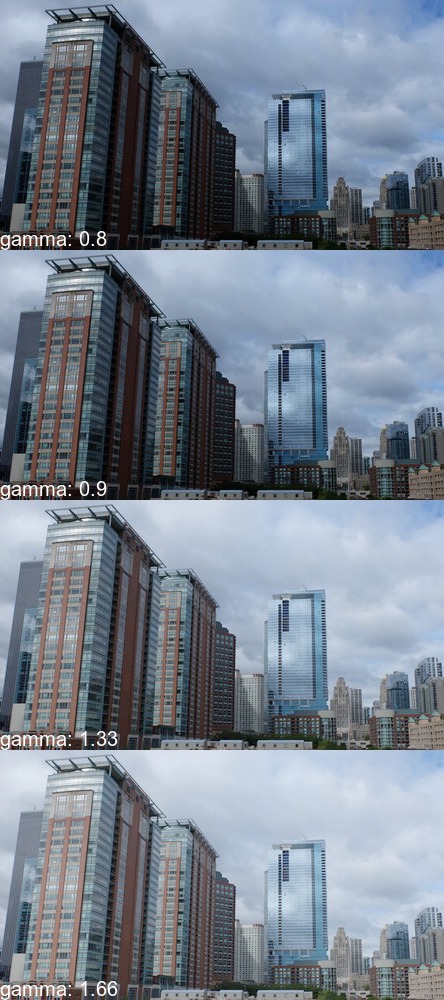
We can step through 4 pre-configured gamma correction values with the following:
from wand.image import Image

with Image(filename='enhancement.jpg') as img_src:
    for Y in [0.8, 0.9, 1.33, 1.66]:
        with Image(img_src) as img_cpy:
            img_cpy.gamma(Y)

Level
New in version 0.4.1.
Black & white boundaries of an image can be controlled with
level() method. Similar to the
gamma() method, mid-point levels can be adjusted with
the gamma keyword argument.
The black and white point arguments are expecting values between 0.0 &
1.0 which represent percentages.
For example, when given image enhancement.jpg:

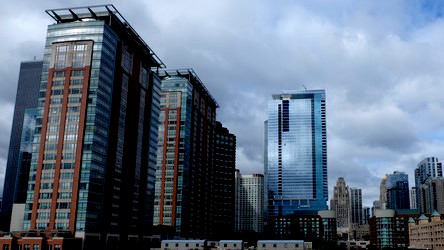
We can adjust the level range between 20% & 90% with slight mid-range increase:
from wand.image import Image

with Image(filename='enhancement.jpg') as img:
    img.level(0.2, 0.9, gamma=1.1)
    img.save(filename='enhancement-level.jpg')

